You may have already heard of yoga blocks and straps, and may even have a couple of these handy props in your personal inventory. But if you haven’t gotten your hands on yoga bolsters yet, there’s an entire roster of reasons as to why you should. But first: What are yoga bolsters for?
A yoga bolster is essentially a pillow or a cushion that’s either rectangular or circular in shape. Compared to your average pillow, though, it’s a lot firmer and more dense. Its purpose is not to let your body simply sink uncomfortably into a pose, but to provide you with more support to help you ease into a pose.

Yoga bolsters are typically used in yin or restorative yoga, as the poses involved in these types of yoga are held for several minutes at a time and are designed to help you feel relaxed and rejuvenated. However, they are also particularly helpful in Iyengar and prenatal yoga.
With a yoga bolster, expect your body to soften, open up, and simply feel renewed at the end of your practice.
If you have a yoga bolster, try these poses for an extra yummy stretch.
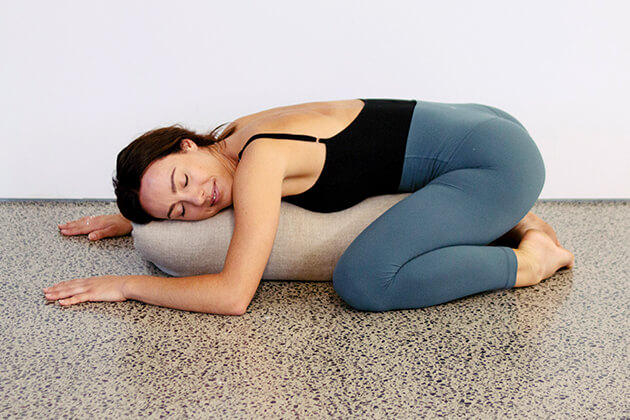
1. Supported Child’s Pose
Position your bolster lengthwise in front of you, in between your knees. Sit on your heels, separating your knees wider than your hips. Then, fold forward and soften your belly, chest, and head onto your bolster.
Relax your arms across either side of your body, or hug your bolster. Feel the length in your spine, from your lower back all the way up to your neck. Notice the rise and fall of your belly against your bolster.
If it’s hard for you to lower your forehead directly onto the bolster, try relaxing down onto one cheek, staying there for a few minutes, then flipping over to the next cheek. Stay in this shape for a total of 5 minutes, before rolling your spine upright and sitting back down onto your heels.
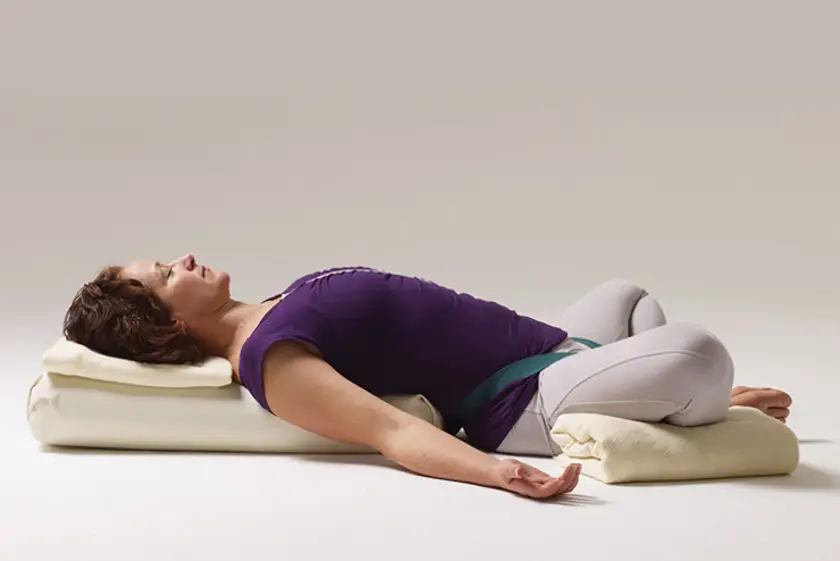
2. Supported Reclined Bound Angle Pose
Sit down on your mat, with your knees bent and soles of the feet pressing down. Take your bolster behind your hips, then lie all the way down. Coming into this shape will already bring your spine into healthy extension, help open up your chest, and stretch out your abdominals.
Very gently, part your knees open and press the soles of your feet together. Come into bound angle or butterfly pose. If your hip flexors and inner thighs particularly tight or if your knees need more support, place blocks underneath your knees.
Release your arms out wide to the side or keep them on your belly. Focus on the rhythm and pace of your breath. Allow your body to relax and soften. Stay here for 5 to 7 minutes, before closing your knees back in, rolling off the bolster, and resetting your spine in savasana.
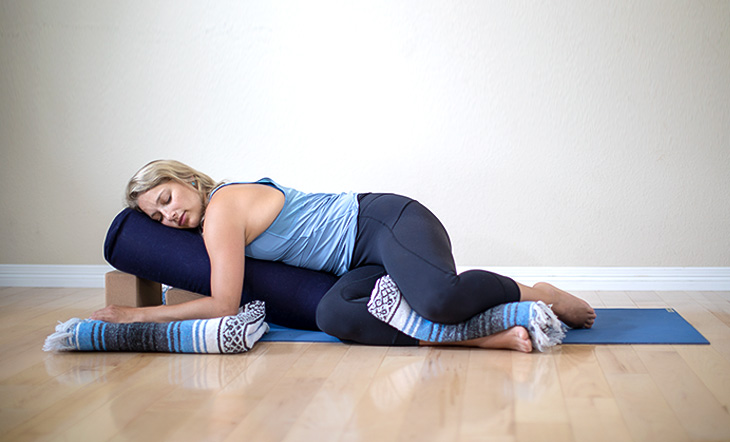
3. Supported Reclined Twist
There are actually many ways to perform your supine or reclined twist with a bolster, but here’s one version that will really help unwind the spine, stabilize the hips, massage your internal organs (particularly your digestive system) and calm the nervous system.
If you’d appreciate more height, have 2 yoga blocks with you. Position one block at the highest height, and another block at its medium. Lean your bolster on top of these blocks, so that your bolster looks like a slide or a ramp.
Bring your hips close to the bolster. If you have a blanket with you, you can fold it and place it in between your knees for more support. Gently drop your knees to the right side, then rotate your torso gently to the same side until your side body–and if possible, your chest–relaxes down completely on to the bolster. Hug your bolster for added comfort.
Close your eyes and relax here for 5 to 7 minutes. When you’re ready, simply unwind from the twist and drop your knees and twist your upper body to the opposite side. Repeat.
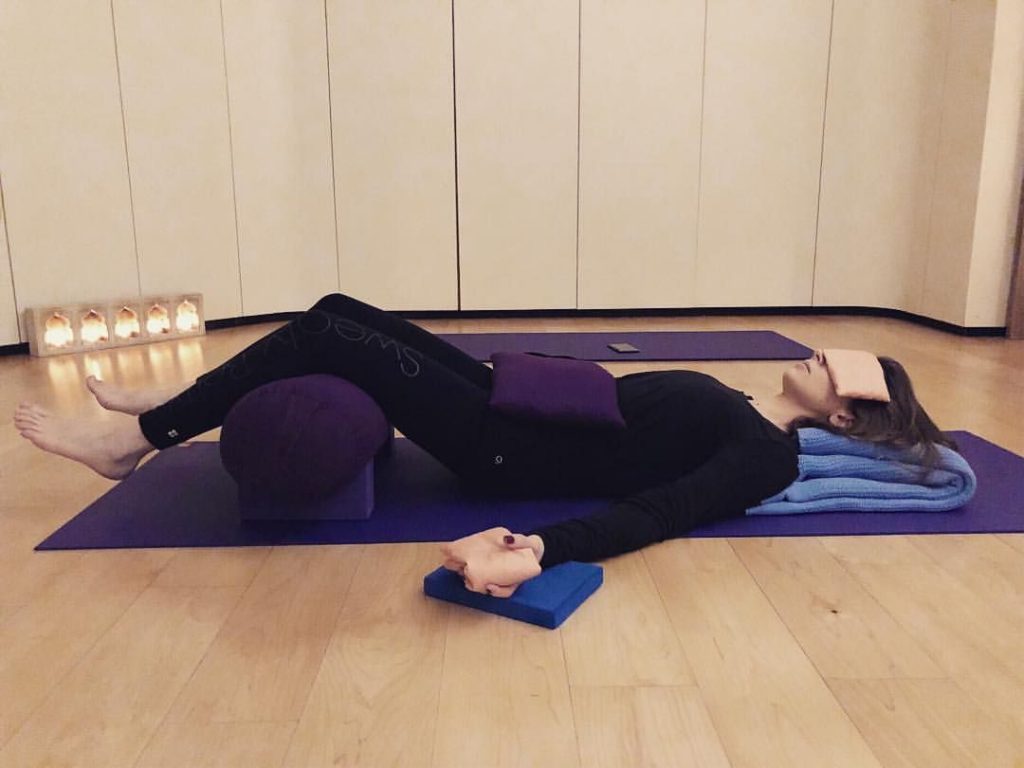
4. Supported Savasana
This final pose is usually performed without any props but you can also perform it with your bolster (and blocks!) too. If you have blocks, line up your blocks as wide as your mat. Then, place your bolster on top of it.
Lie down on your mat, then elevate your legs on top of the bolster-and-block bridge that you just made. Elevating your legs will help boost circulation, support lymphatic drainage, and promote better energy flow across your body.
Stay here for as long as you like (7 minutes at the very least). You can enhance the experience of this pose by draping a blanket over your body, supporting the back of your head with a pillow, or placing an eye pillow over your eyelids. Enjoy!
5. Supported Sukhasana
End your practice with a brief meditation. Once you’ve found yourself seated, take your bolster at the center of your mat. Relax your sitting bones onto your bolster, allowing your knees and shins to relax down. Feel free to support your knees with blocks or a blanket.
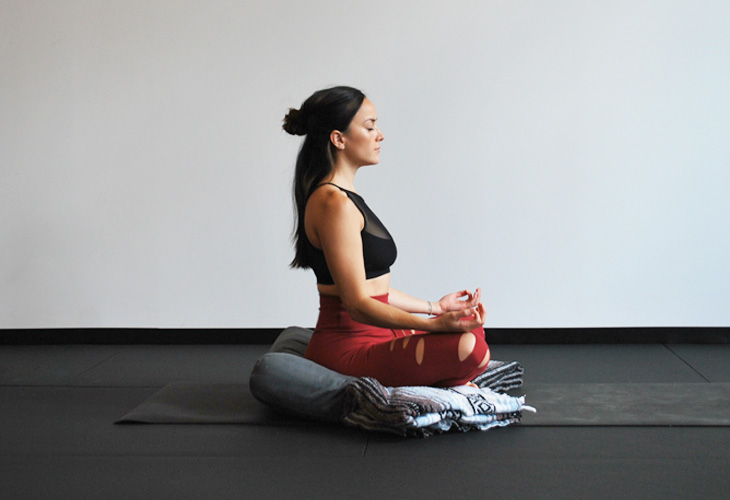
Ground down, then lengthen your spine up towards the ceiling. Feel the sides of your waist elongate, as you spread the collarbones, and soften the shoulders away from the ears. Reach the crown of your head up towards the ceiling.
As for your hands, you may leave them on your lap or take them into a mudra. Then, close your eyes, and spend 3 to 5 minutes meditating and focus on your breath. Notice how the bolster gives you the additional height and helps you sit more upright.
Now that you know what yoga bolsters are for, you’ll eventually realize how essential and valuable they can be for your practice. Get yourself one now!

